How To Use Shutter Drag For Wedding Reception Photos
What is Shutter Drag?
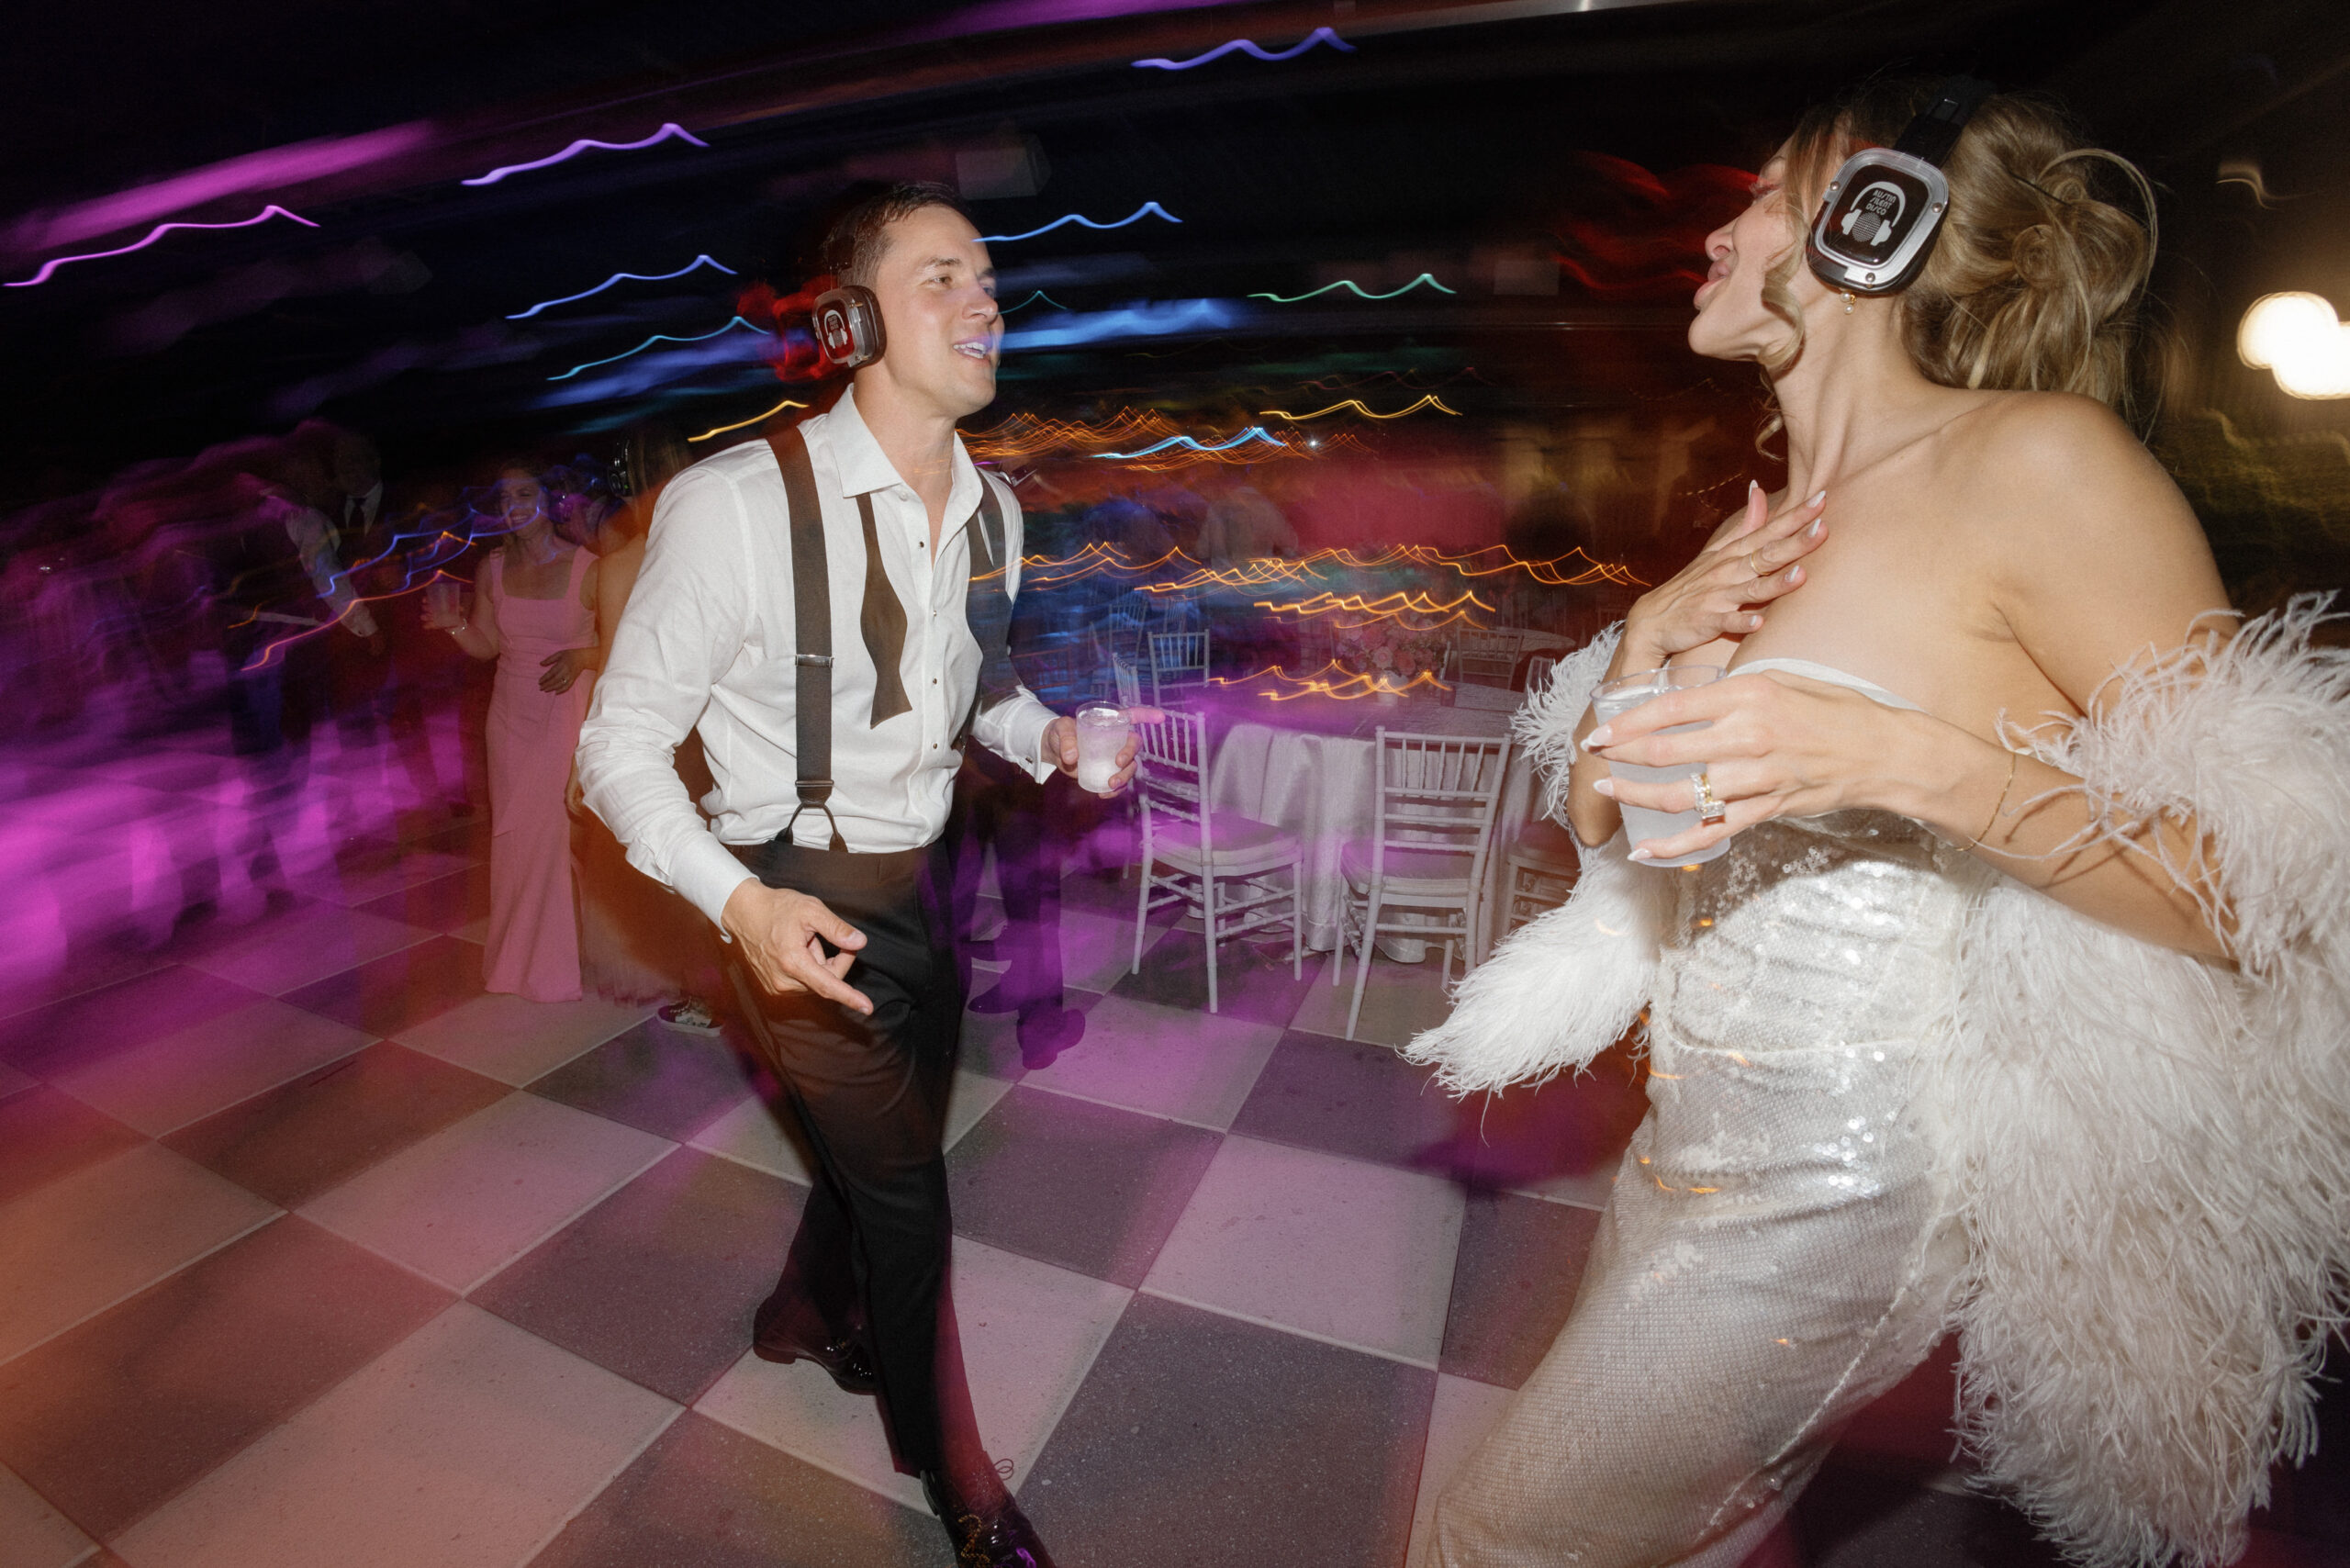
Shutter drag, also known as motion blur, can transform ordinary photos into vibrant, dynamic images. This technique adds a touch of whimsy and energy to your shots, perfectly capturing the festive atmosphere of a wedding dance floor. As a wedding photographer, mastering shutter drag can set your work apart and provide your clients with unique, memorable images.
What You’ll Need for Great Shutter Drag Photos
- A camera with manual setting options
- A flash with manual setting options
- Dark background, with a few brighter lights scattered throughout
When You’d Want to Use Shutter Drag for Wedding Receptions
I usually only use this technique when photographing open dance floor action. It can also work for things like a bouquet toss or reception exit. I never use it for “events” like the first dance, cake cutting, or toasts. For those moments, I like to use prettier off-camera flash that shows the uplighting, decor, and guests.
Why You’d Want to Use Shutter Drag for Reception Dancing Photos
The wedding dance floor is often a tipsy, sweaty blur. I like the photos to look the way things feel. Shooting this way also allows me to shoot fast. I hardly ever even look through the viewfinder when shooting this way. I point and click at what is happening. I can reach into a crowd or hold the camera over my head. No problem! Lastly, this look can make an otherwise drab or empty room look fun and full.
How I Create the Shutter Drag Look
I usually use a Canon R5 camera, Canon RF 16mm 2.8 lens, and a Godox V1 flash that’s attached to the camera’s hot shoe. I also register the settings for this technique under the custom functions (C1, C2, and C3) on the Mode Dial. You can get this same look with any camera setup. This is just what I’m using currently when shooting digital and not film.
- The flash is pointed straight ahead.
- I find this look works best with a 24mm or wider lens on a full-frame camera like the Canon R5. So I lock my 24-70mm lens at 24mm or better yet, use my nifty 16mm. I set my flash to 1st-curtain sync (can be set under the flash function settings in your camera menu).
While in manual mode, I start with these camera settings:
- Aperture: 7.1
- Shutter: 4
- ISO: 100
The larger aperture along with the wide lens keeps me from worrying much about missing focus. I can point the camera in the area of my subject and press the shutter button. Easy! The low ISO keeps any ambient light to a minimum. The slow shutter is what lets the bright lights in the background swirl around.
While in Manual mode on my flash, I start with these settings:
- Power: 1/16
- Zoom: 50mm
The power of the flash is something I’ll adjust as needed. This determines how close or far you need to be from your subject. The lower the flash output, the closer you need to be to your subject. That’s because the light from your flash is what your camera will be seeing in this mode. You won’t rely on any ambient light that may be present. 1/16th power is about the spot that I like to start at but it will vary based on how light or dark the room may be. Using ETTL usually works pretty well too. It’s a nice option when your subject is moving all over the place, like on a wedding reception dance floor.
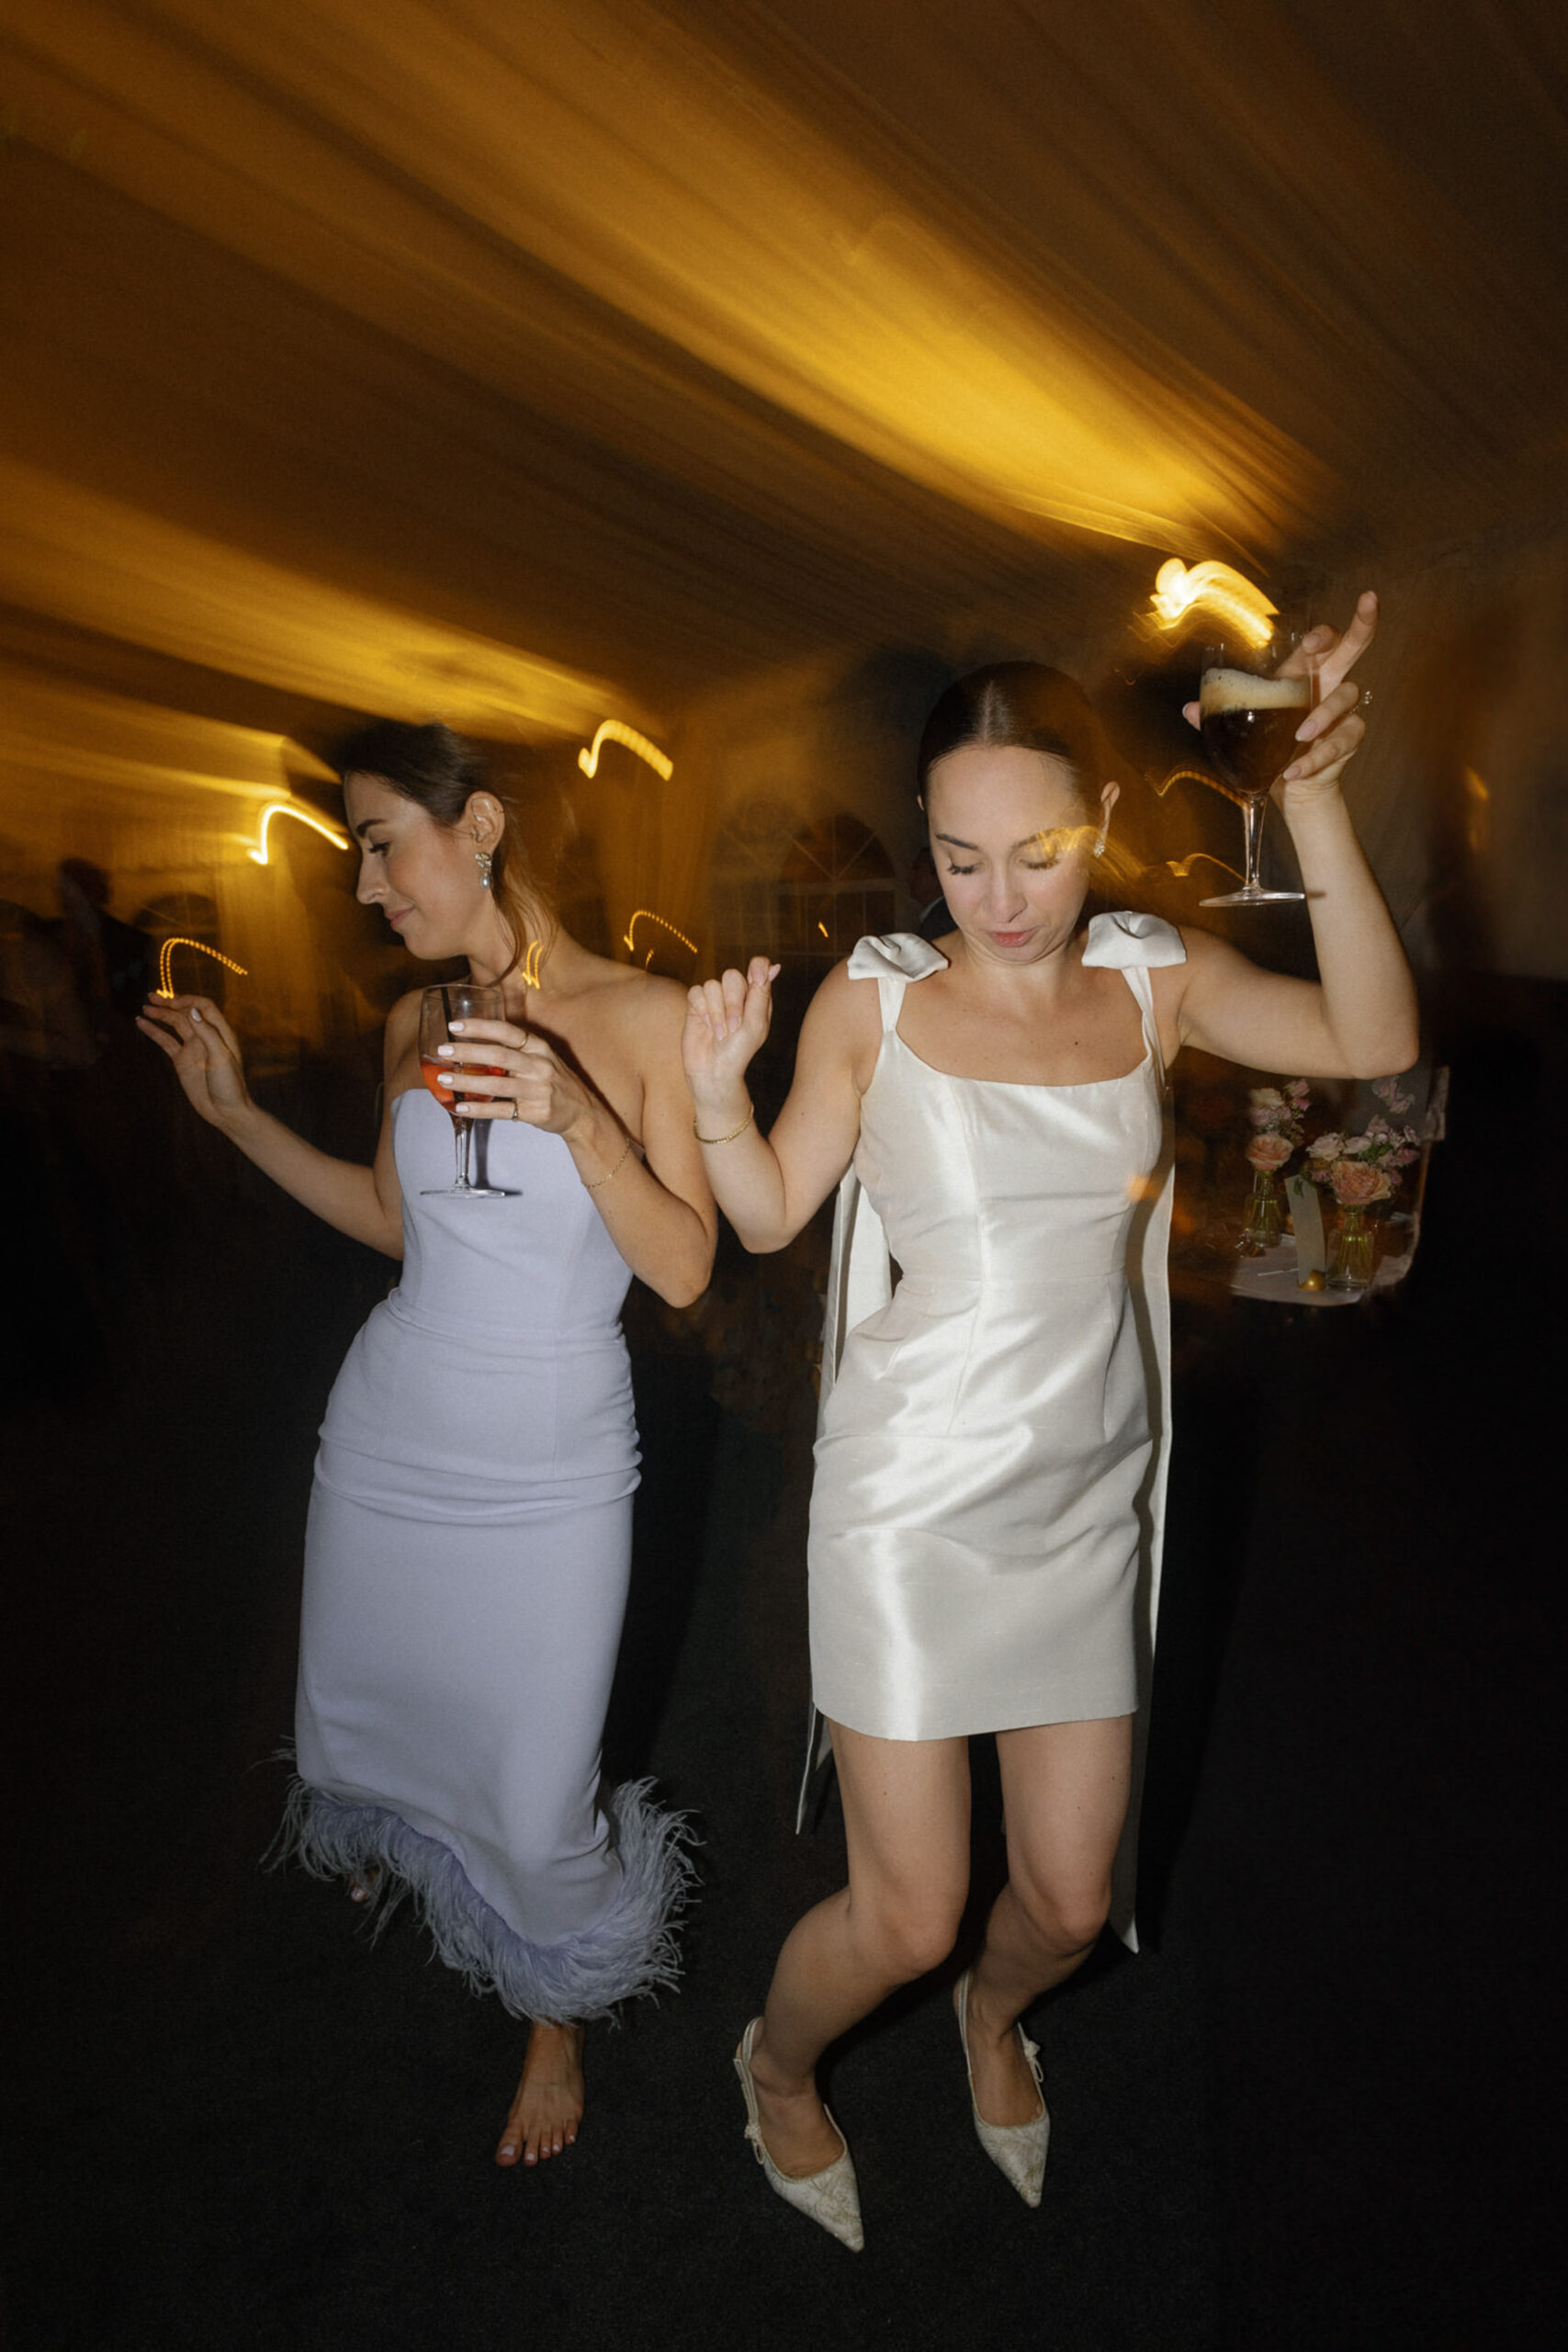
Zooming the flash took me forever to figure out. This is super important because it gives the vignetted look to the image. The more the flash is zoomed, the more vignetted the image will be. I like the super vignetted look but you need to have your subject right in the middle of the frame. As I’ve said, I like to be able to just point the camera in a direction without looking through the viewfinder. Therefore, I opt for a wider vignette that is more forgiving if I have a face closer to the edge of the frame.
Adjustments
You will have to adjust a little based on the lighting around you. When adjusting for this, I will usually play with the flash power first. Once I get that close, I’ll adjust the aperture for quick adjustments on the fly. These settings work great at a certain distance from your subject. You’ll get a feel for that distance and before long you won’t have to adjust much at all.
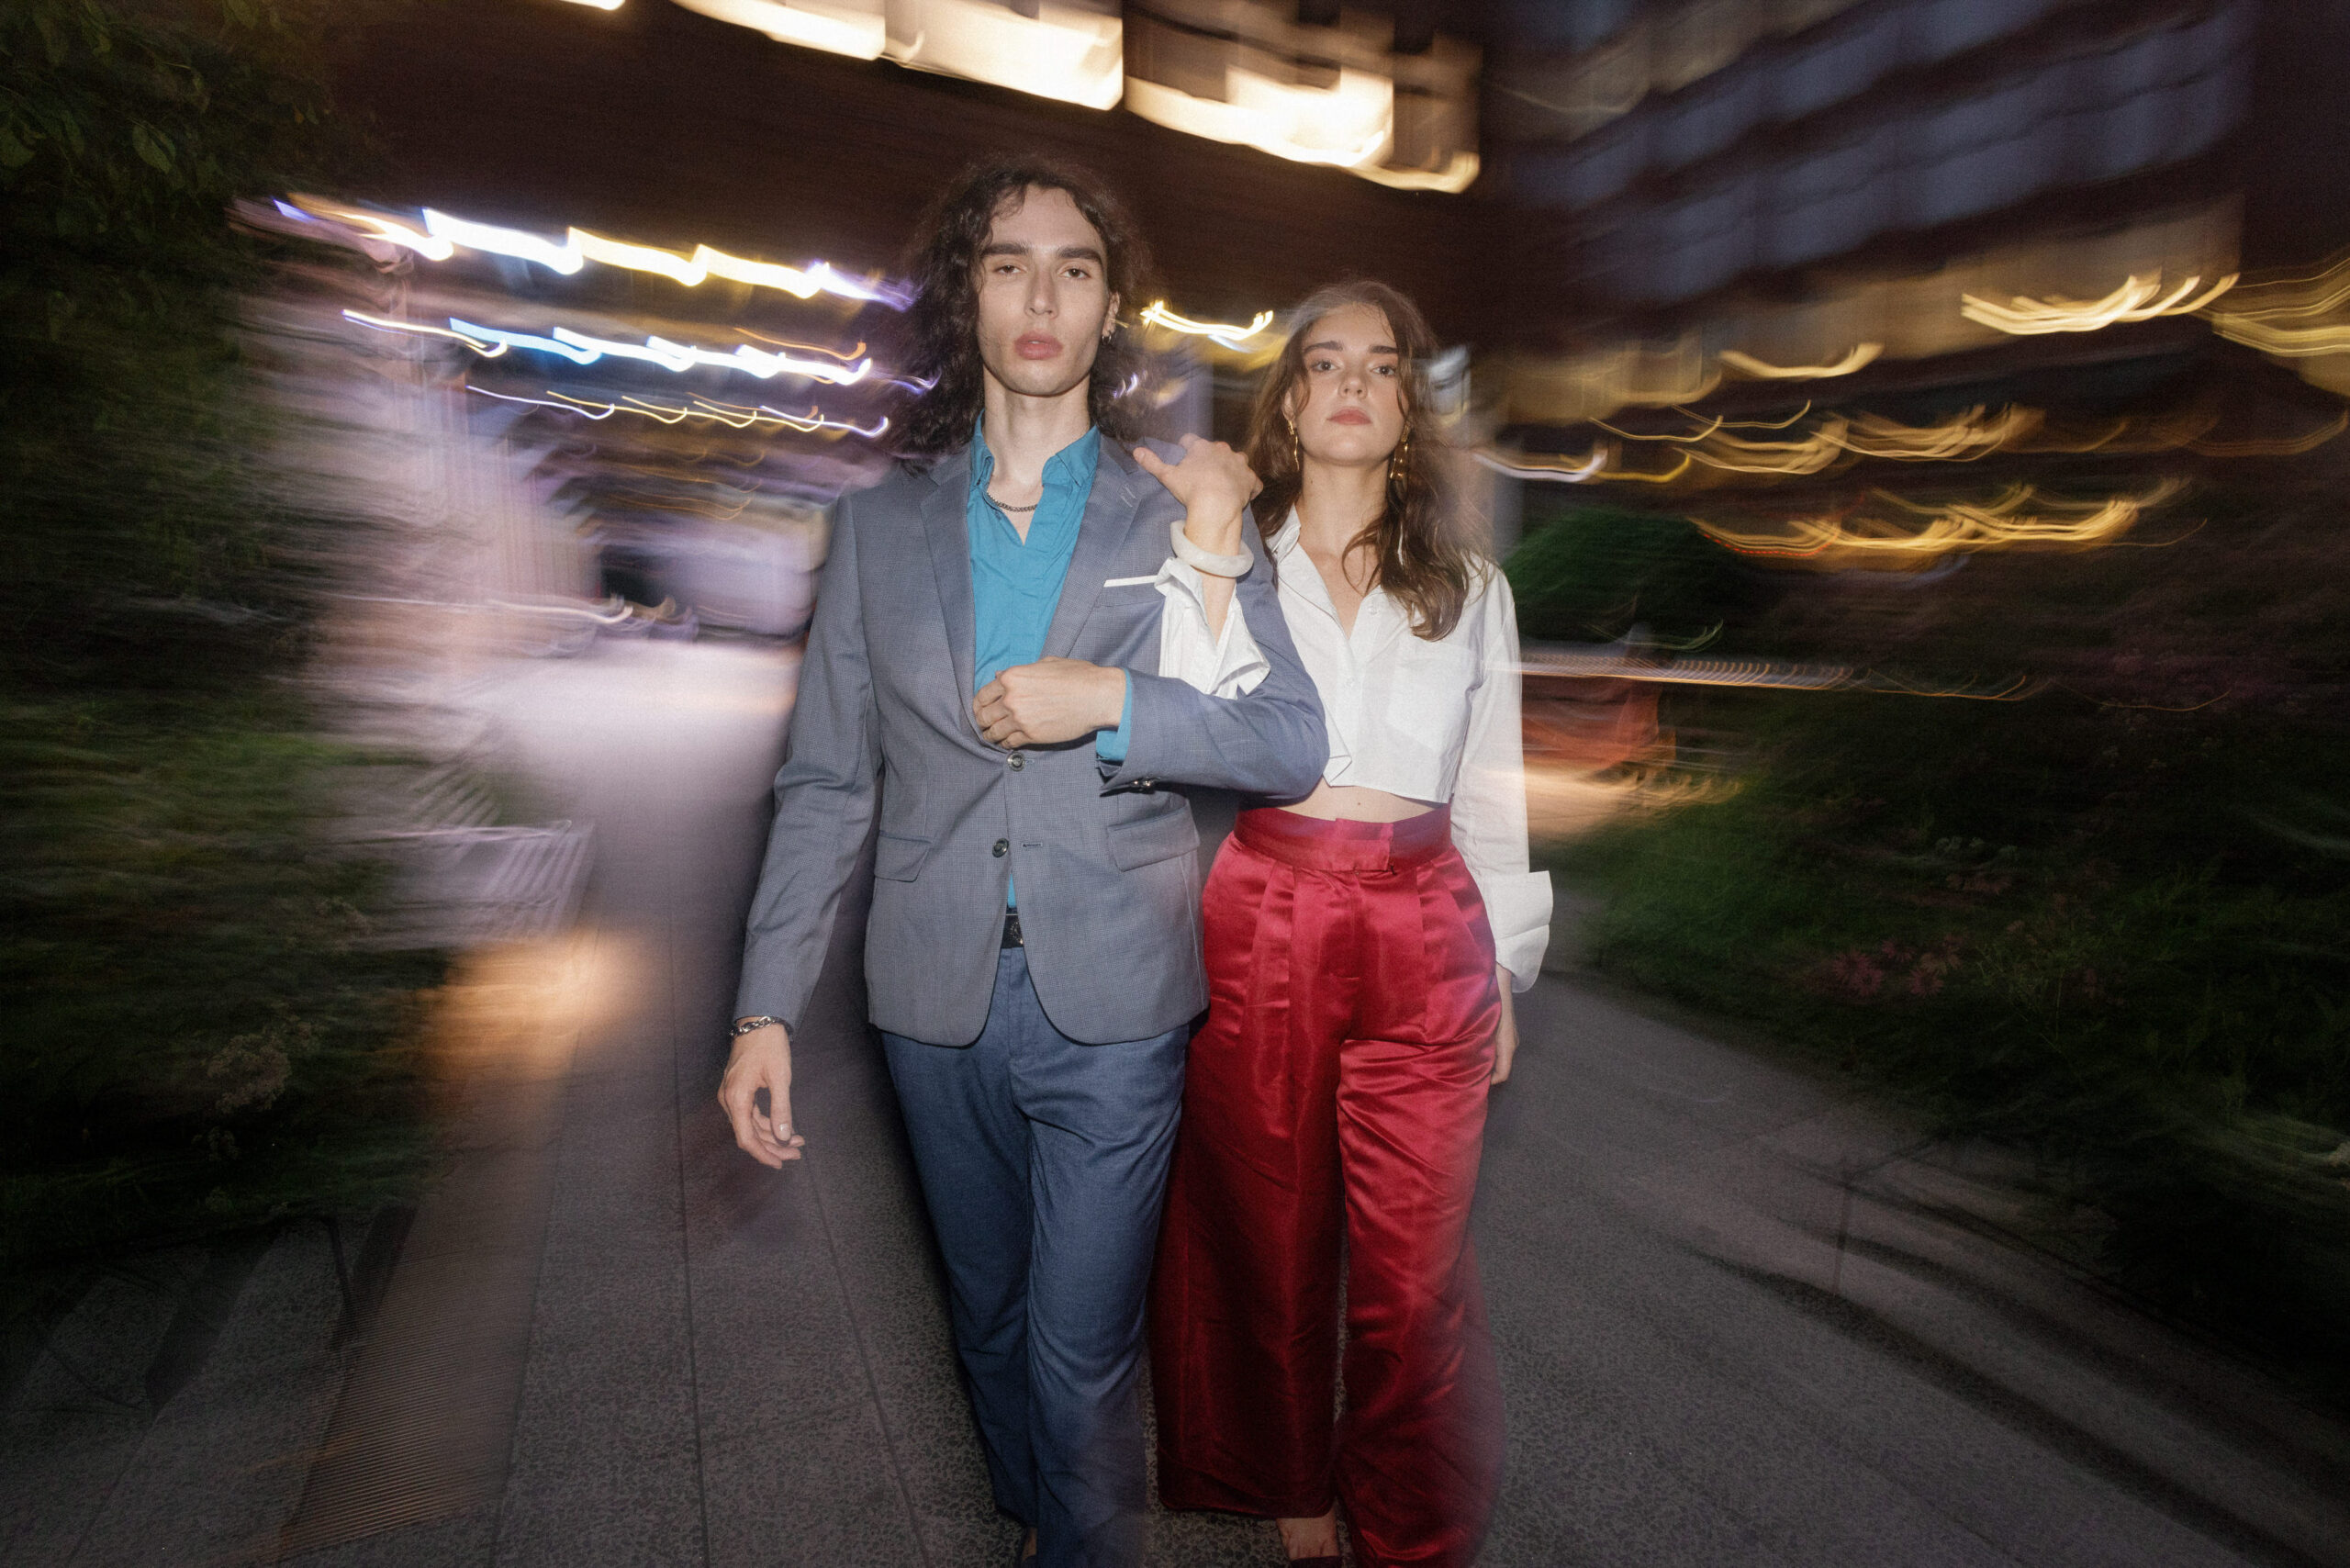
The way you get background lights to swirl or drag is by moving the camera. What the light from the flash hits (your subject) is frozen in place. The background lights are controlled by the shutter speed and how the camera moves while the shutter is open. The slower the shutter, the longer the light is let in. If you want wild swirls, you can “shake” or “wave” the camera while pressing the shutter.
I don’t like crazy swirls. They can be distracting and obscure your subject. I prefer to hold the camera relatively still when pressing the shutter while having a pretty show shutter speed. That way you will still get some movement in the light, but it won’t be out of control. If there are not a lot of lights, I’ll add a little hand shake for more movement.
Conditions
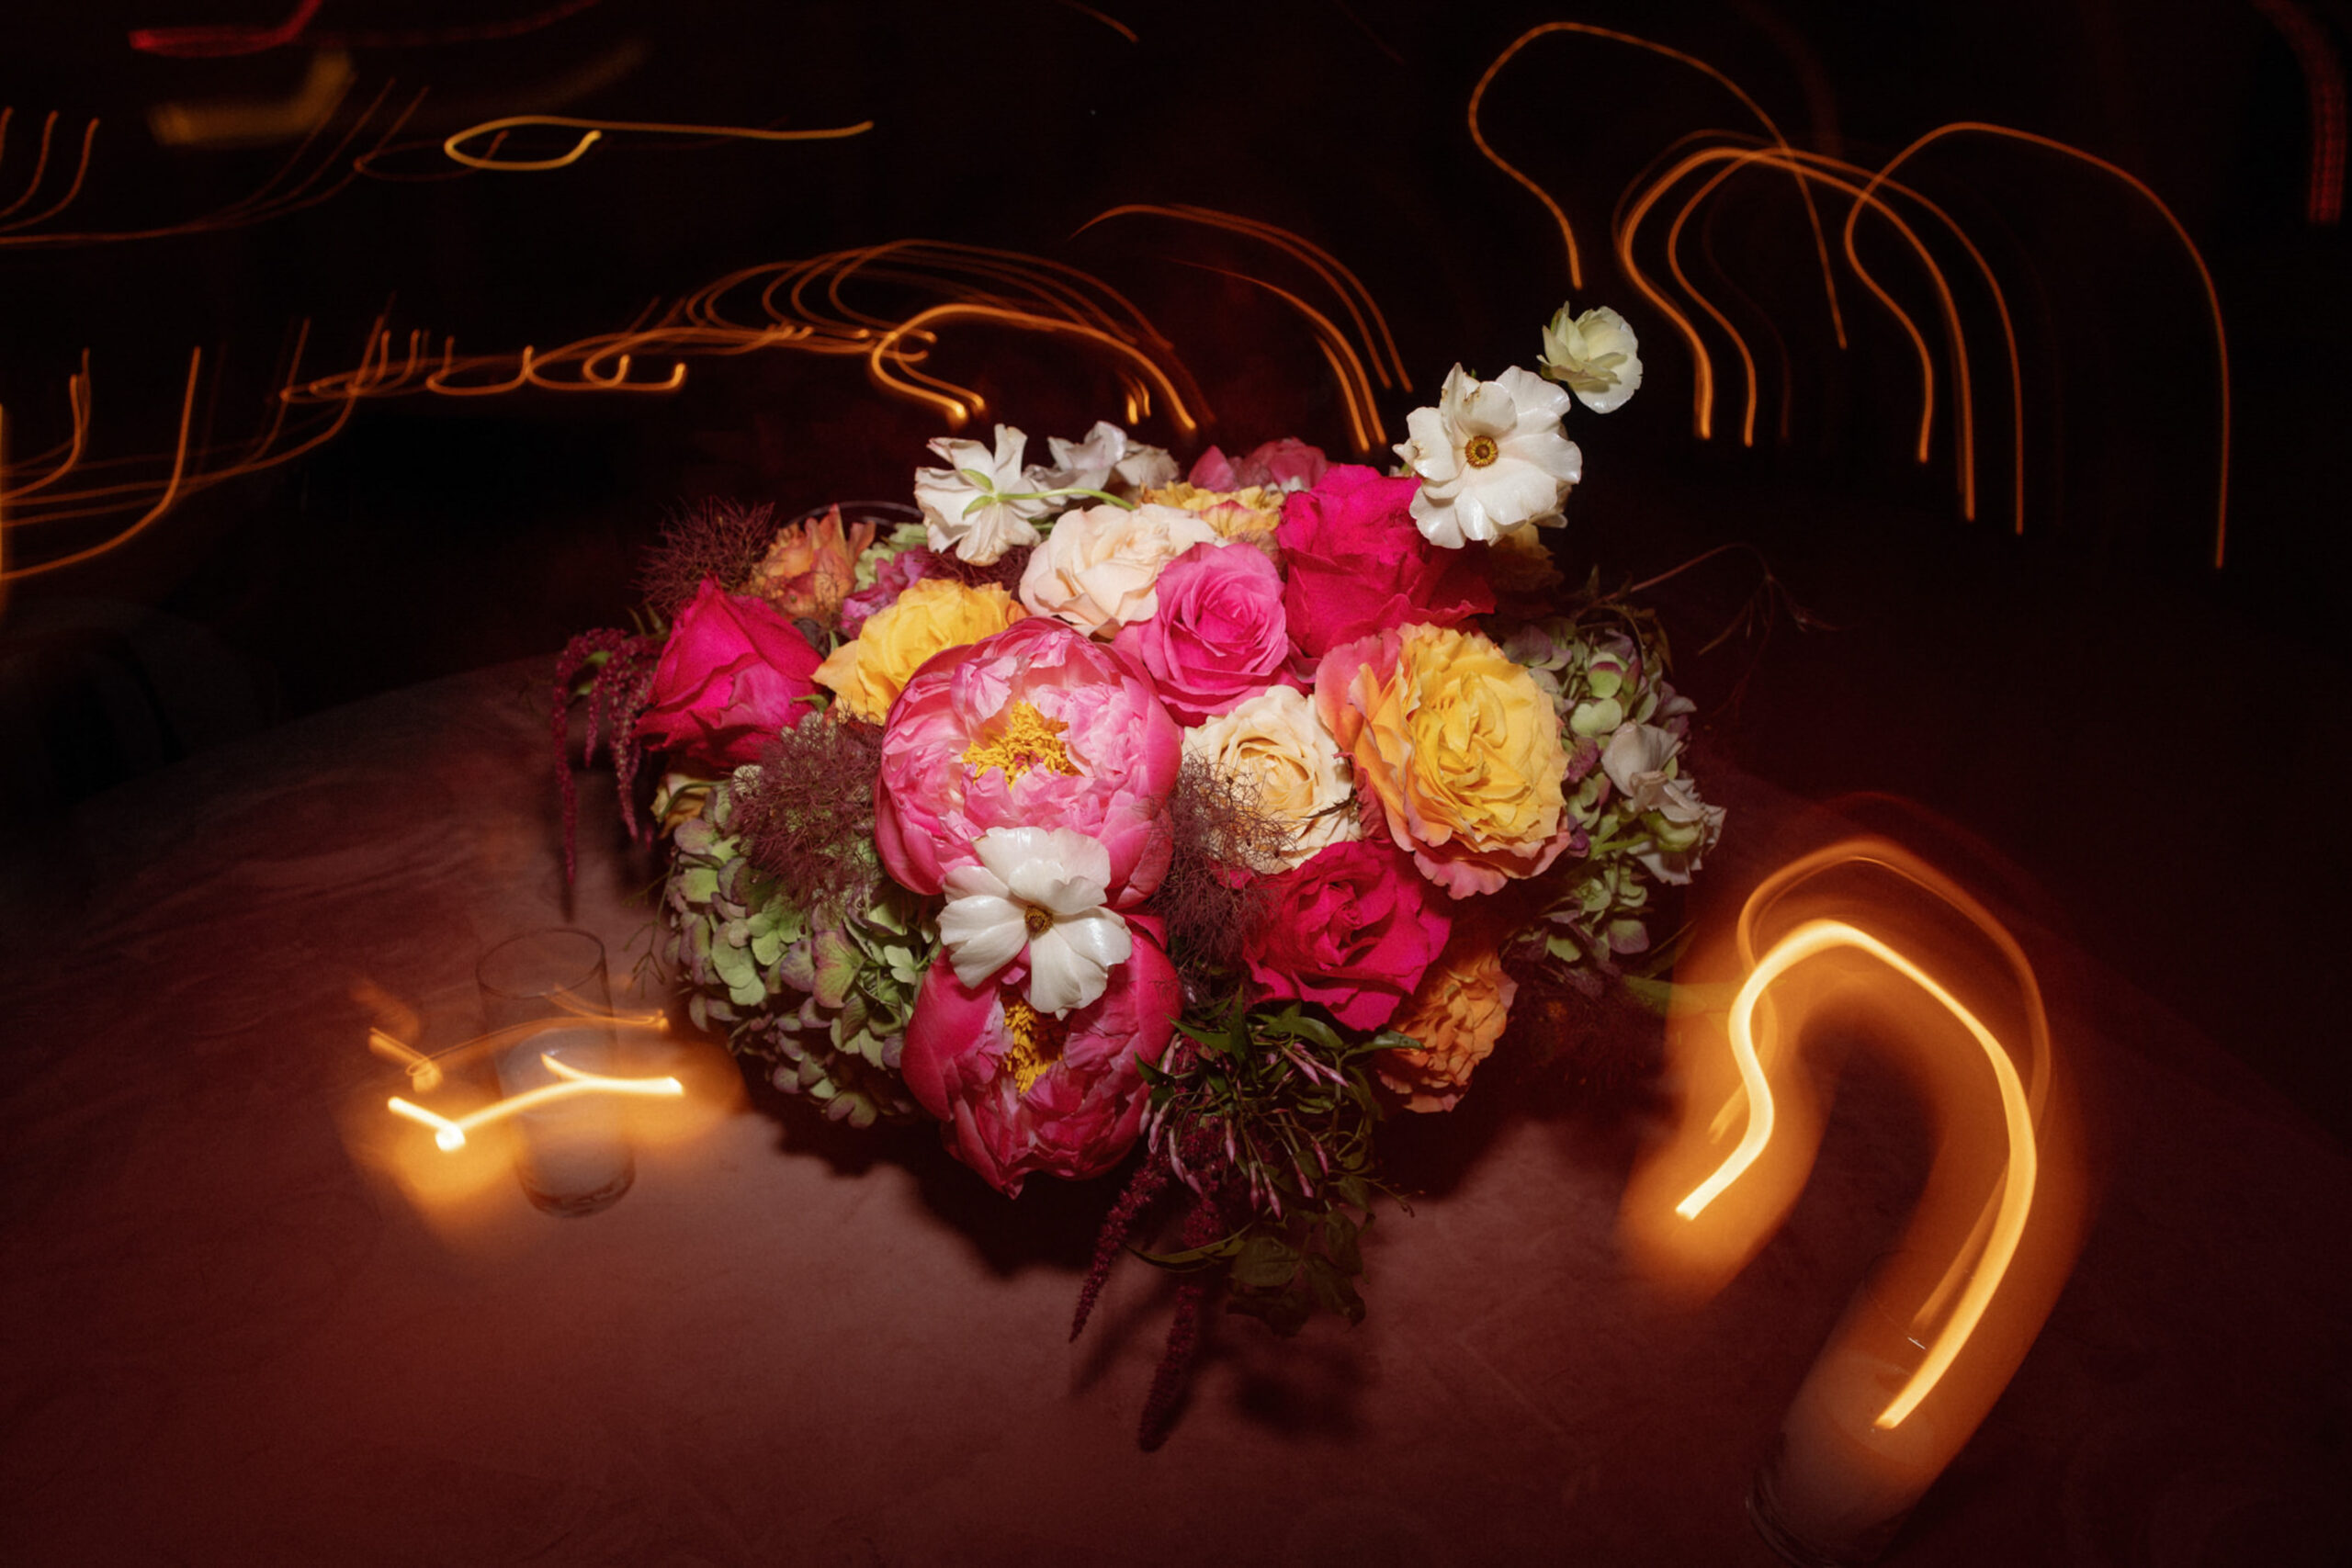
My favorite conditions for shutter drag photos are a dark background with small bright lights throughout. For example, an outdoor wedding reception at night with string lights works well. Many times a band or DJ will have brighter lights pointed at the crowd. Play around with what direction works best. I usually get better results shooting away from the lights so they don’t overpower the image.
If you are having more of a ghostlike layover of light in your image, it usually means it isn’t a dark enough environment. Of course, you usually don’t have much control over that. If you can, try to turn down the house lights. If that’s not doable, try raising the power of your flash and your shutter speed to cut that light out. You can also get this problem if you are too far away from your subject.
Elevate Your Photography Business
Are you passionate about photography and eager to discover your creative niche? My photography education is designed to help you build a thriving business that aligns with your artistic vision. Whether you’re just starting out or looking to refine your skills, my coaching sessions offer insights into creating work that resonates with your desired audience.
During these sessions, we will:
- Discuss how you can start standing out from the crowd.
- Business strategies tailored to the luxury wedding industry.
- Techniques to create stunning, cohesive portfolios that attract your ideal clients.
Why Learn from Me?
With over a decade of experience as a destination wedding photographer, I bring a wealth of knowledge and a passion for mentoring others. My approach is focused on helping you achieve your creative and business aspirations. Whether it’s mastering technical skills or understanding market trends, I’m here to guide you and answer any questions you might have. Discover more about mentoring sessions here.

Comments +
Leave a Reply
You must be logged in to post a comment.
Thank you so much for putting this together! SO helpful and informative – and the pictures are epic!
Very helpful and informative article for fellow wedding photographers. Fun shooting style and even better results here. 🙂
I love this article! Shutter Drags seriously make dancing photos a million times better!
Wonderfully done! I have never really attempted doing this technique before, but might have to try now! Thanks for the inspo <3
Ok these are awesome tips! totally going to use some of these going forward.
This is super helpful! When dragging the shutter at a wedding I always worry that people get annoyed with the flash in their face, but folks (hopefully) won’t hate me too much!!
Thank you for explaining this technique – I can’t wait to try it for myself! Much appreciated 🙂
Awesome idea to capture the motion and energy of a wedding reception- will be keeping this in mind.
I love using drag shutter for receptions! This is so helpful for someone curious to learn this technique 🙂
This technique brings alot of life and movement to these images. Super detailed instructions too, very well done!
Such a great informative post! I will try that next time I shoot a traditional reception!
People will love you now after sharing this knowledge. So helpful for receptions’ photography!
I have always wondered how to do this! Thank you for sharing.